To view and edit a specific product, follow these steps:
-
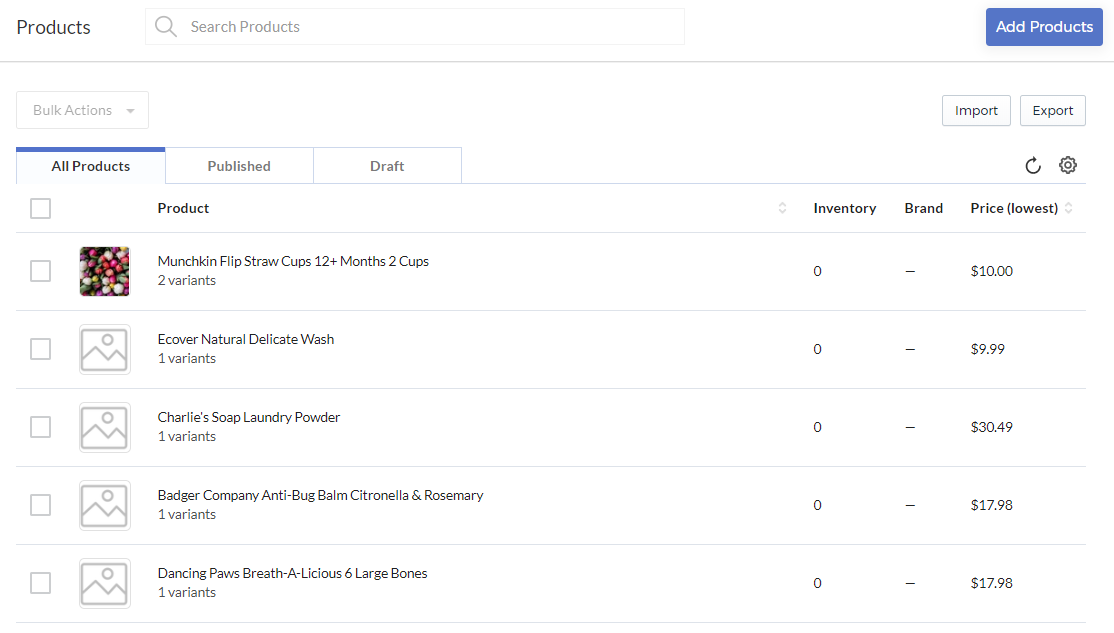
In the Products page, select the product or perform a search.
-
The page displays the product’s details. These are the same details that you have set when adding this product to the store. Update these details, if necessary.
- Title
- Description
- SEO
- Categories
- Brands
- Restrictions
- Custom Fields
- Review Dimension Set
- Visibility
-
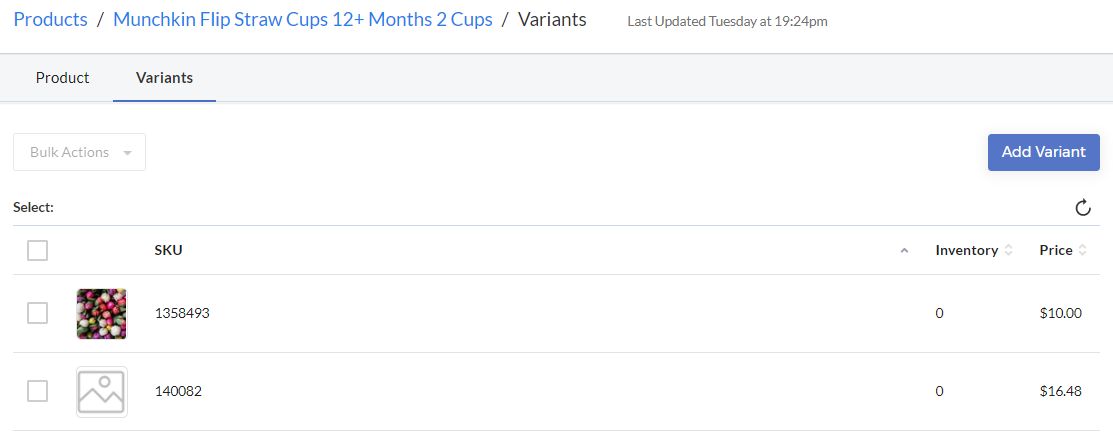
Select the Variants tab to view the product’s existing variants.
-
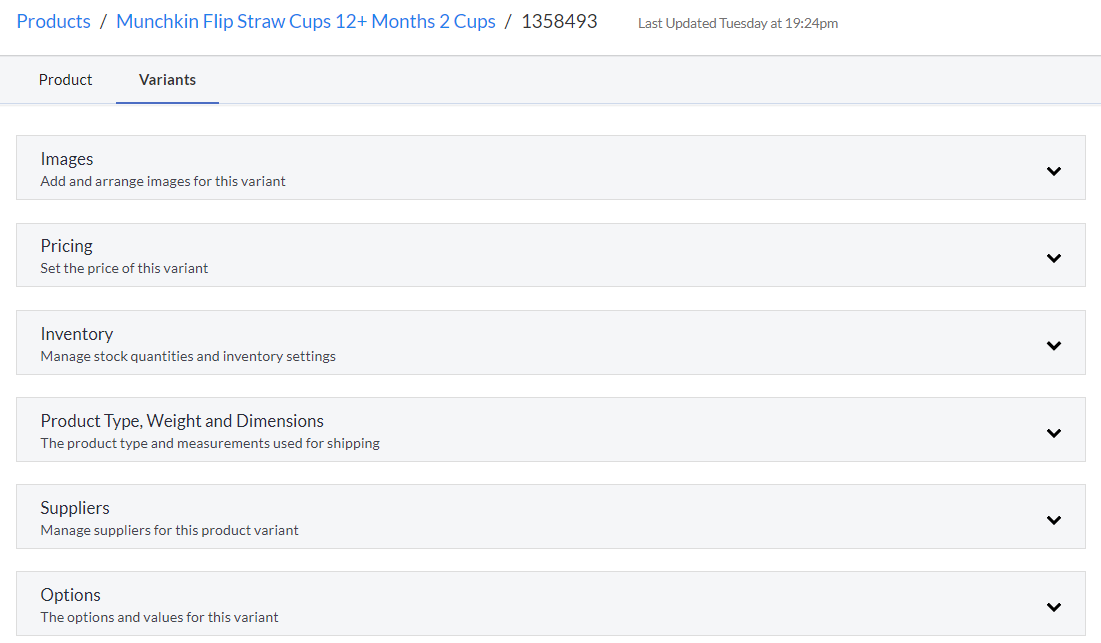
Select a specific variant.
-
Select the following sections to update, if needed:
-
Select Save to save any changes you have added.
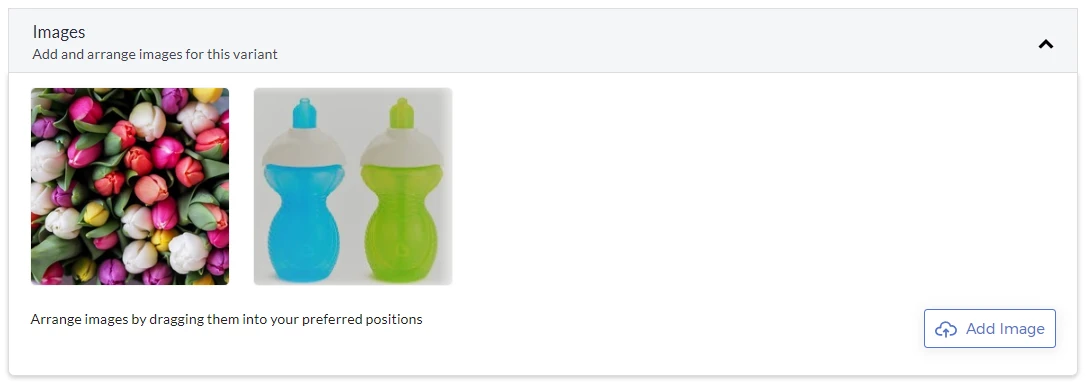
Images
Select the Images section to add, edit, or delete images for this specific product variant. To arrange the images, drag them to your preferred positions.
Note: JPEG, HEIC, GIF, PNG, WebP are supported filetypes.
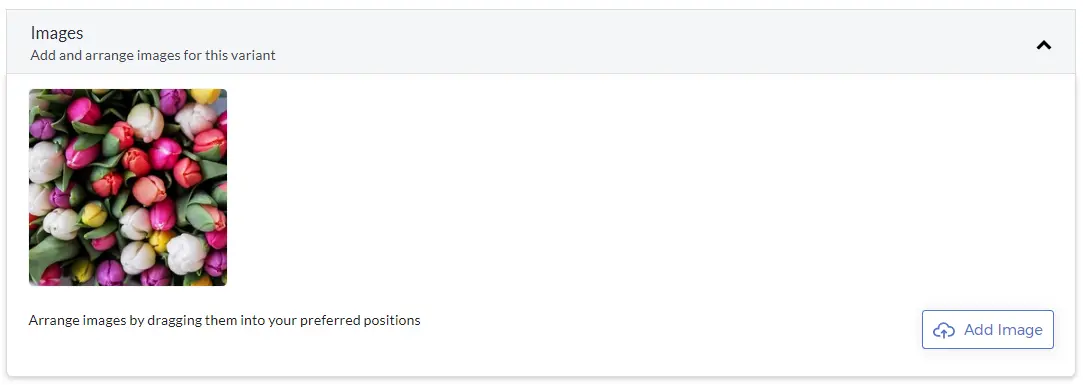
Adding an image
To add an image, follow these steps:
-
Select Add Image.
-
Browse for and then select the image to add. The new image is displayed in the Images section.
Editing an image
To edit an image, follow these steps:
-
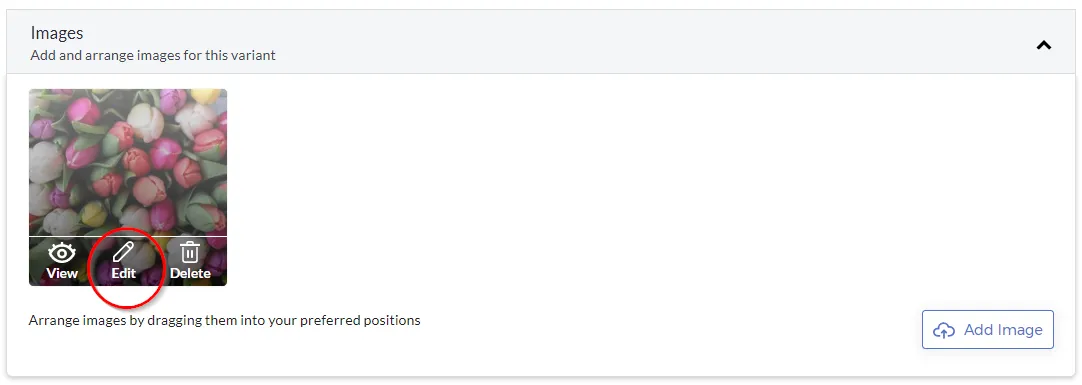
Hover the mouse over the image or select it, and then select Edit.
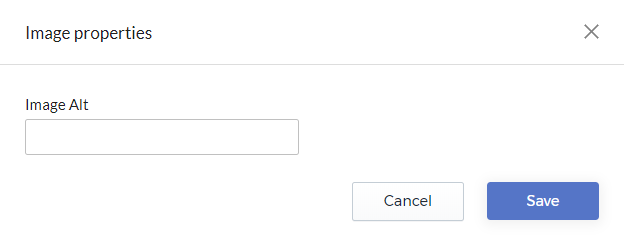
The following window is displayed.
-
Enter an Image Alt text, which is the text that is displayed in the image container when the image cannot be displayed or cannot be found.
-
Select Save to save the changes.
Deleting an image
To delete an image, hover the mouse over the image or select it, and then select Delete.
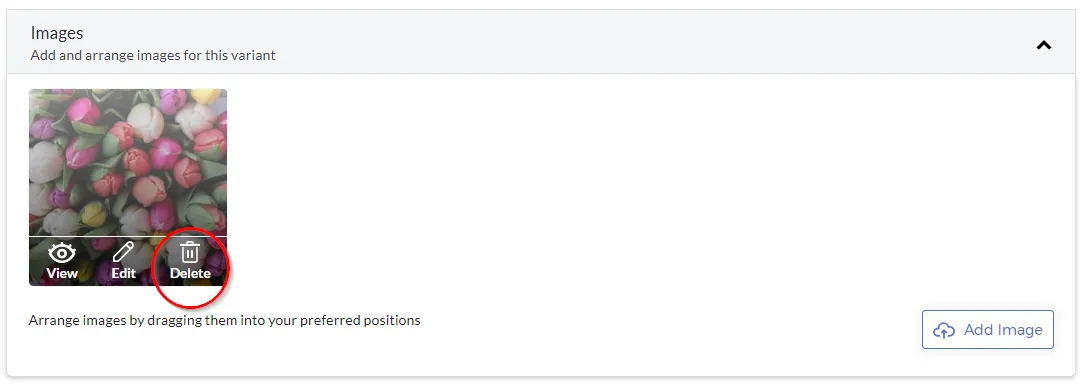
Note: The image is deleted without any confirmation window.
Pricing
Select the Pricing section to update the price details of this specific product variant.
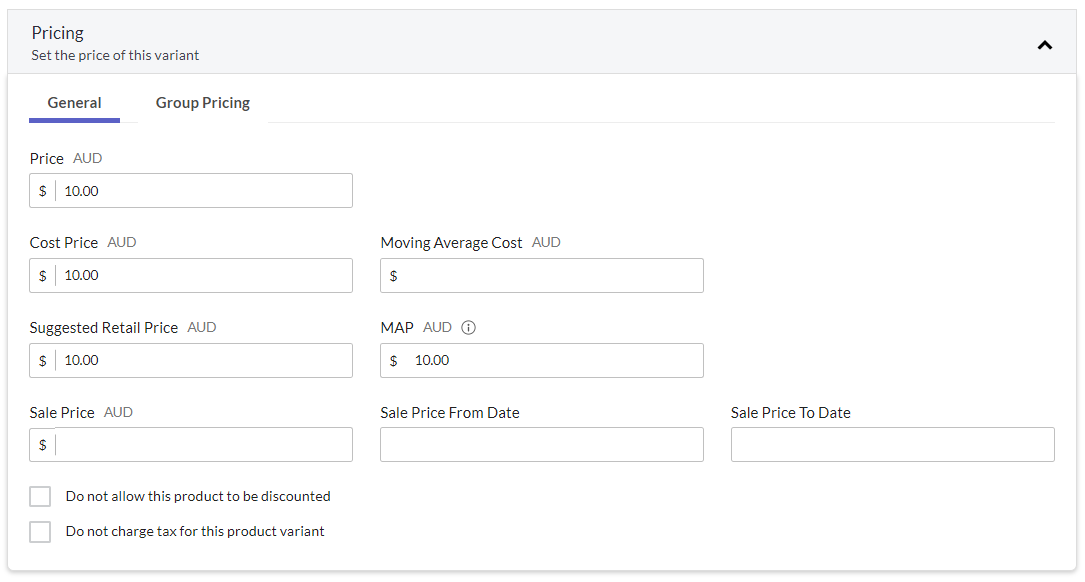
Update the following settings, if necessary.
-
General:
- Price – refers to the normal price for a product variant.
- Cost Price – refers to the price that the shop pays the supplier for the product. It is used in calculating the profit margin and to pre-fill the purchase order costs.
- Moving Average Cost (read-only) – refers to the Moving Average Cost for all purchases of this product variant based on previous Purchase Orders.
- Suggested Retail Price – refers to the brand’s recommended retail price.
- Minimum Advertised Price (MAP) – refers to the minimum price that the brand allows to be displayed.
- Sale Price – refers to the special discounted price of the product.
- Sale Price From Date and Sale Price To Date – specific dates to schedule the product price promotions.
- Do not allow product to be discounted - the product will not be discounted, such as if a customer uses a coupon or is eligible for any other promotion.
- Do not charge tax for this product variant - sales tax will not be charged for this product regardless of any tax rules.
-
Group Pricing
- In this tab, set a particular price for each customer group. For example, if you want to charge a lower price for wholesale buyers of the product.
Inventory
Select the Inventory section to update the inventory details of this specific product variant.
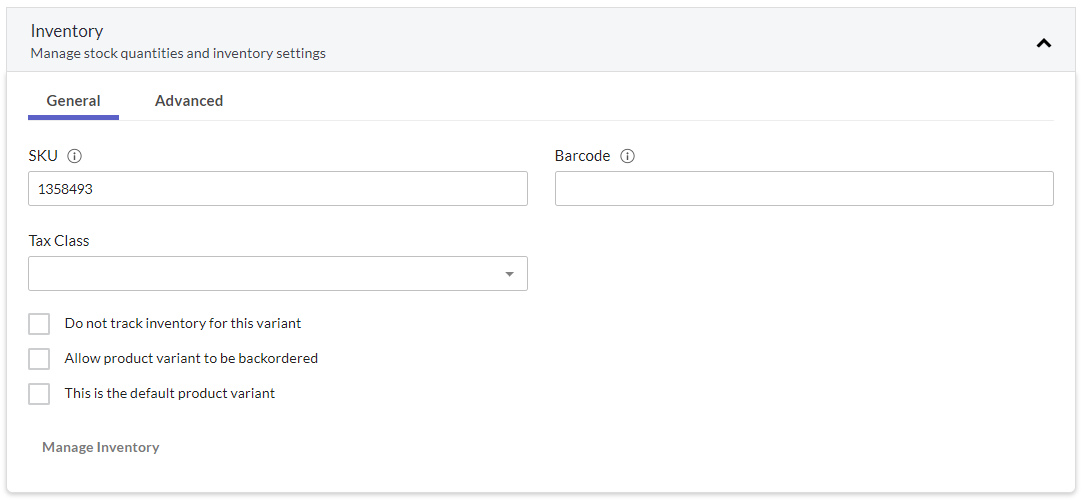
Update the following settings, if necessary.
-
General:
-
SKU (Stock Keeping Unit) – refers to the internal identifier for a particular product variant.
-
Barcode – refers to the GTIN, UPC, or another unique identifier set by the product brand or manufacturer.
-
Tax Class – select from the dropdown list.
Important: Tax classes are used to differentiate between types of products and how they are taxed. For instance, the standard GST/VAT is charged on most products but food GST/VAT is 0%. In this case, create a Tax Rule with two tax classes. For example, a "standard" VAT and a "zero" VAT. Then, apply the "zero" tax class to food items and the "standard" tax class to all the other products.
Note: Tax classes are created by creating a Tax Rule in the Settings section. For more information, refer to the Adding Tax Rules section.
-
-
Do not track inventory for this variant – if this option is selected, the app will not keep count of the inventory. This option is often used for digital goods or products that have no physical inventory.
-
Allow product variant to be backordered – if this option is selected, the app will allow the Available inventory count to become negative.
-
This is the default product variant – sets this specific product variant as the default.
-
Manage Inventory – is an option that, when clicked, redirects you to the specific product variants page in the store’s inventory.
-
Advanced:
- HS Code – refers to the harmonization system code. This code is used for tax calculation and for international shipping.
- Country of Origin – refers to the country where the product was manufactured. This information is used for international shipping and tax or duty calculation.
Product Type, Weight and Dimension
Select the Product Type, Weight and Dimension section to update the type, weight, and dimensions of the specific product variant.

Update the Product Type setting, if necessary:
-
Physical
- Weight
- Length
- Width
- Height
-
Gift Card
-
Digital Good
- Download Limit - refers to the maximum number of times the customer can download the file.
- Days Before Expiry - refers to the number of days until the digital download link expires.
- Add File - is an option to add a digital file. The maximum file limit is 5GB.
-
Service
-
Bundle
Suppliers
Select the Suppliers section to manage the suppliers of this specific product variant.

To add a supplier, follow these steps:
-
Select Add Supplier. The following fields are displayed.

-
Enter the following details.
- Supplier
- Location (optional)
- Code
- Cost
- Quantity
- Lead Time
Note: Suppliers are added in the Inventory > Suppliers section. For more information, refer to Suppliers.
Options
Select the Options section to update the options of this specific product variant.

To add an option, follow these steps:
Note: Options and their values that are part of an option set are created in the Settings section. For more information, refer to the section on creating options and values.
