Navigation > Adding a menu
 Search docs
Adding a menu
To create a menu for your store, follow these steps:
-
In the Navigation page, select Add Menu.
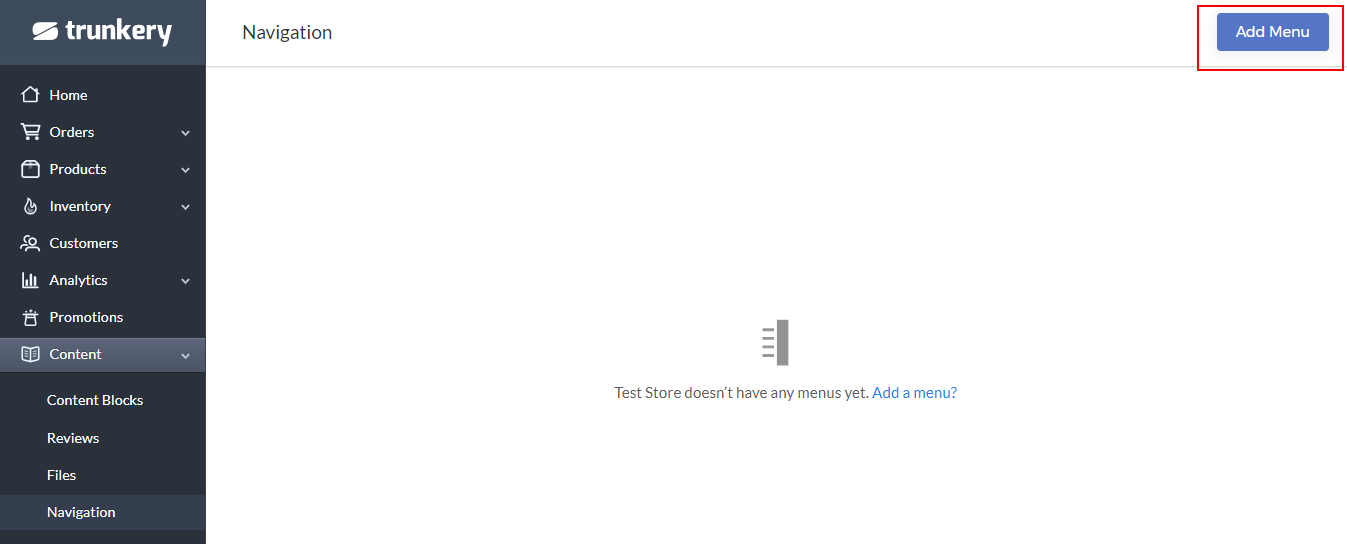
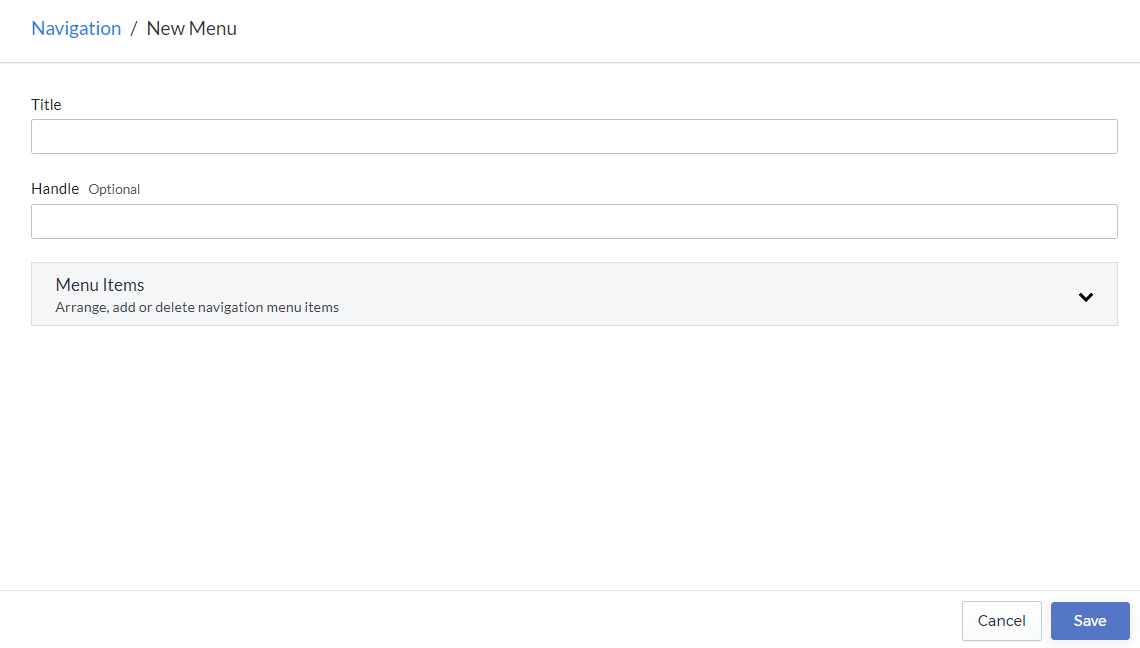
The New Menu page is displayed.
-
Enter the following details:
- Title – refers to the title of the new menu.
- Handle (optional) – refers to the handle name of the menu.
-
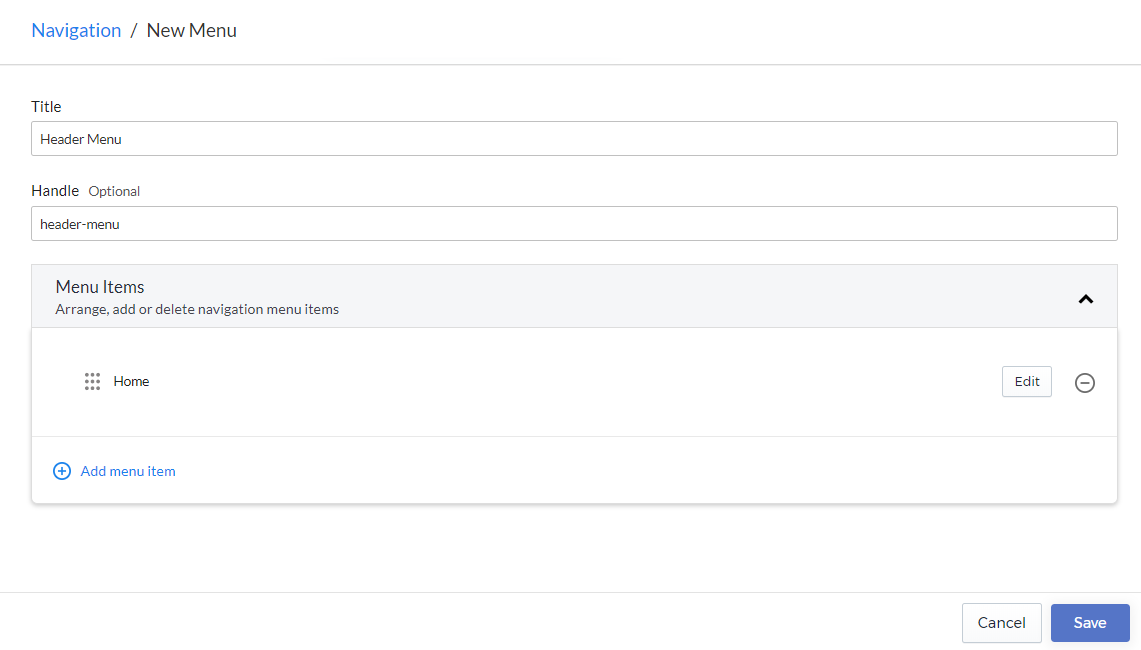
Select Menu Items > Add menu item to add menu items.

The Add Menu Item window is displayed.

-
Enter the Menu Item Name, which refers to the name of the menu item.
-
Select a Menu Link Type, which can be one of the following:
- Category
- Home
- Link
- Content Block
- Product
- Search

-
Select Save. In this example, we added the Home menu item.
-
Add more menu items needed for your store.
Note: Menu items can be nested to create sub-menu items. You can also rearrange your menu items by dragging to the desired order.
-
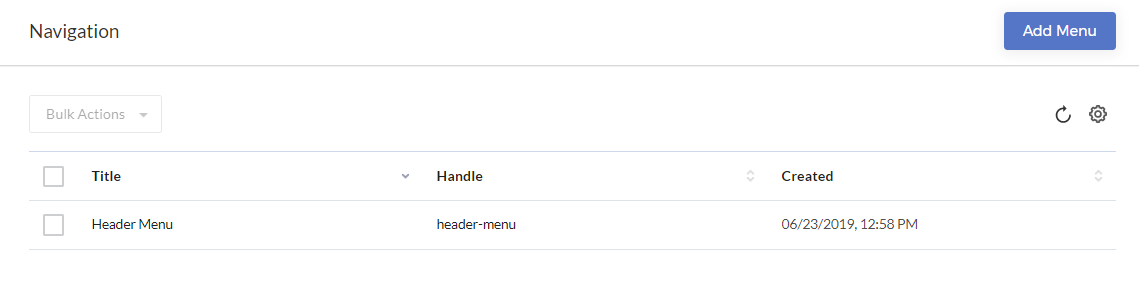
Select Save to save the menu. The menu is displayed on the Navigation page.